Take Screenshot from a PDF
Maybe you want to capture an area in the PDF document for reference, sharing, or saving purposes. Screenshots can be a quick and easy way to do this.
Here is how to use PDFgear as a PDF snipping tool to take a screenshot of a PDF:
Step 1. Open the PDF document with PDFgear. Navigate to the page or specific content you want to capture.
Step 2. Click on the “Screenshot” button to capture an area in the document as an image.
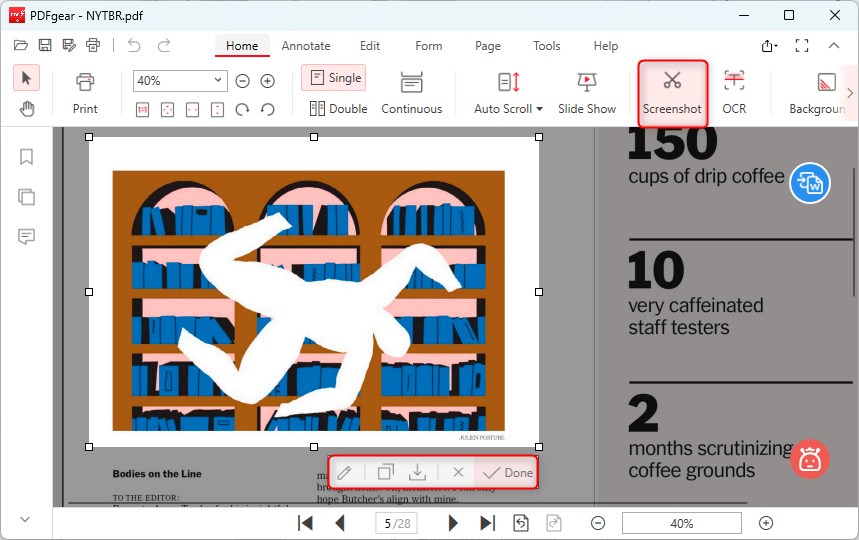
Take a Screenshot from PDF
There are a few options provided under the selected image:
1. Click on Pen Icon to edit the screenshot in the Paint program.
2. Click on Copy to copy the screenshot to your clipboard.
3. Click on Save to save the screenshot as .png.
4. Click on the ‘Done‘ will save the screenshot to the clipboard and pin the screenshot as a thumbnail at left side for further access..
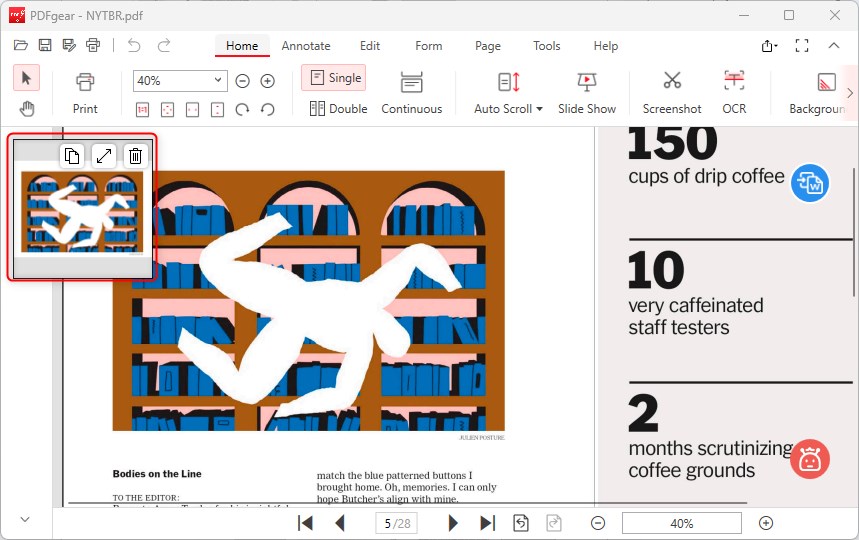
Copy or Delete the Screenshot
Further access are provided on the thumbnail of the sceenshot.
1. Click on Copy to copy the screenshot to your clipboard.
2. Click on Zoom in or Zoom out to enlarge or narrow the thumbnail window.
3. Click on Delete to close the thumbnail window.