How to Add Borders to PDF Documents for Free

Summary :
This article shows you how to add borders to PDFs using PDFgear’s free online service, desktop software, mobile app, and Adobe Acrobat Reader.
Table of Contents
Borders help give your document a polished and professional touch. It’s also handy for presentations or printouts, ensuring everything fits and doesn’t spill over the edges.
In the following, you’ll find some free and easy methods to add borders to PDF documents.
Add Border to PDF Online for Free
PDFgear offers a free and web-based PDF editor for you to add clean & professional borders to your PDFs quickly and easily. It supports borders in different shapes, like rectangles, circles, and polygons.
PDFgear is free to use, there’s no signup, and there’s no watermark.
Step 1. Go to PDFgear online PDF editor, and click Select PDF File to open the PDF file.
Select PDF file
Step 2. On the upper menubar, look for and click on Add Shapes, and select the Add Rectangle tool there.
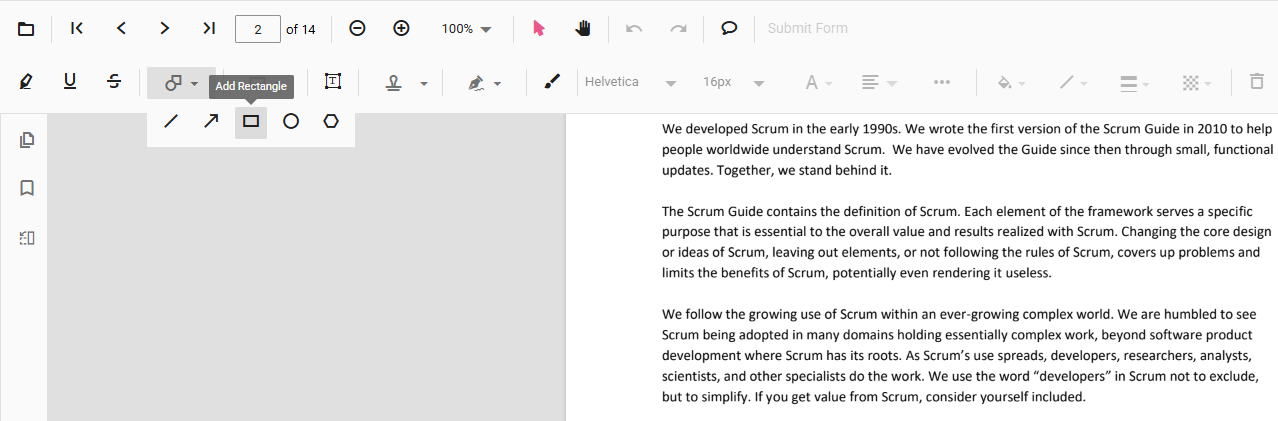
Click Add Rectangle
Step 3. With the Add Rectangle tool selected, click, hold, and drag your mouse to add the border to your preferred position.
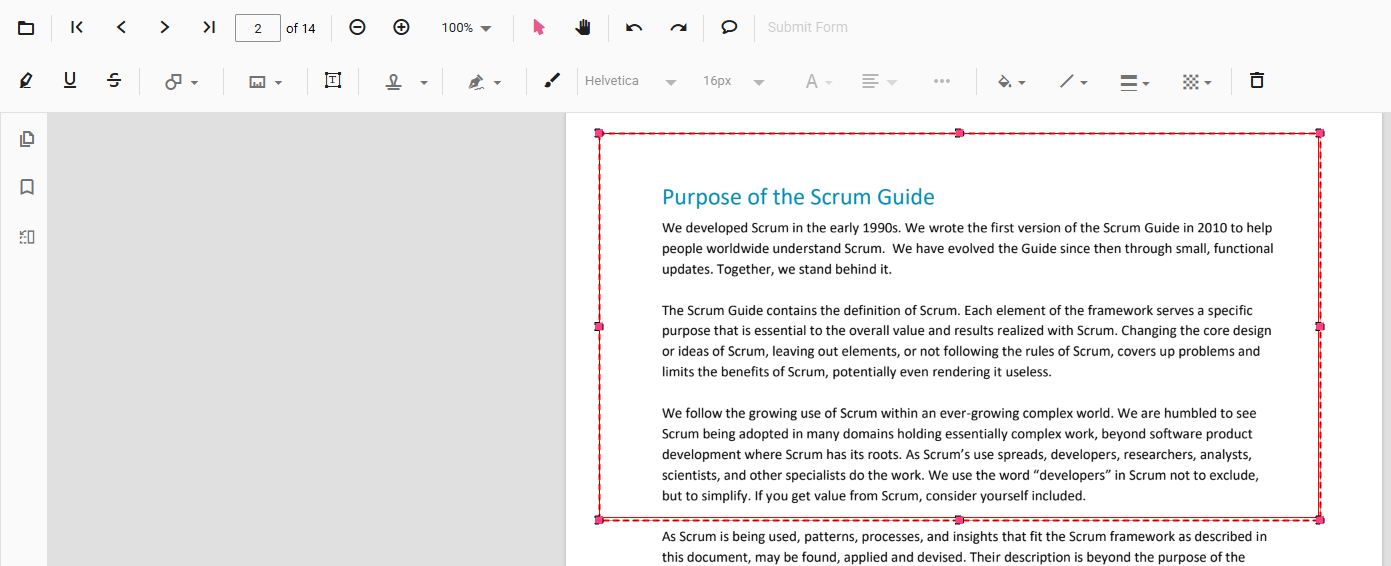
Add Border
Step 4. Click on the Change Stroke Color or Change Stroke Thickness to change the color or thickness of the inserted border.
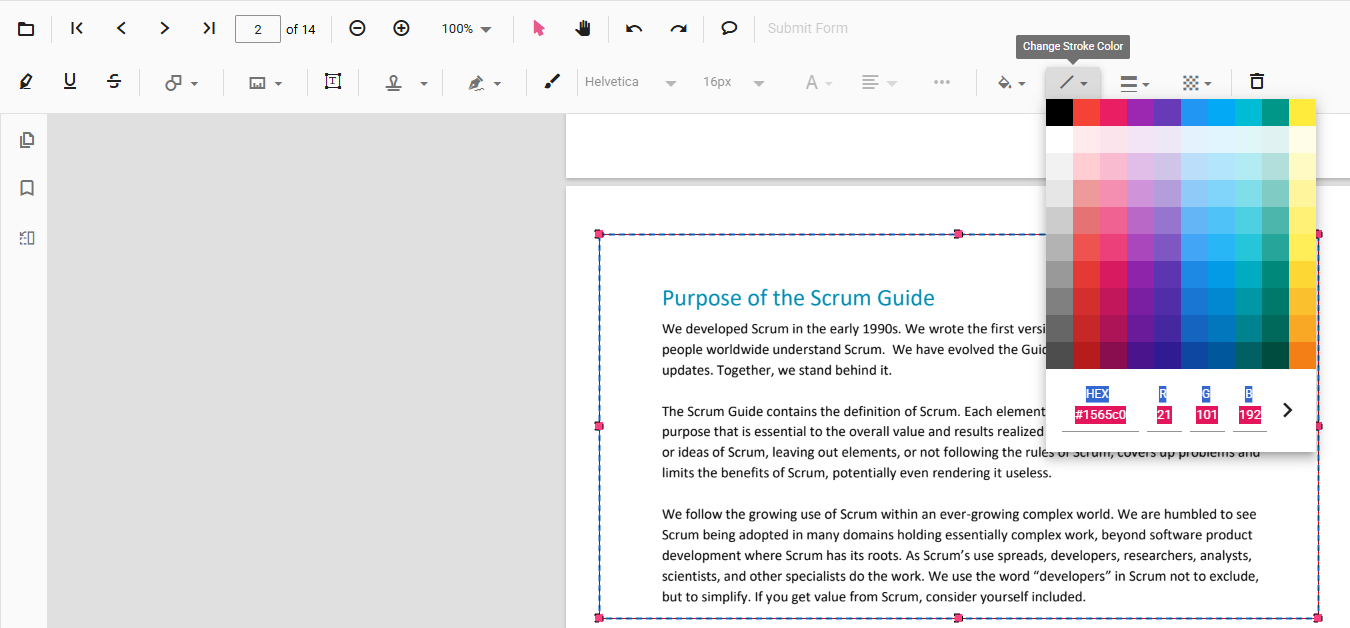
Change Border Color
Step 5. When you’re done working, click the upper right Download file button to download and save the PDF with borders.

Click Download File
Add Border to PDF on Computer for Free
PDFgear software is an ideal choice to add customizable borders to PDF on Windows and Mac.
Compared with the online version, PDFgear software delivers better performance when working with larger & multi-page PDF files, it works without an internet connection, and it offers a versatile color picker for you to choose your border color in a more precise way.
PDFgear is a powerful PDF editor to put borders and free drawings in PDF for free.
Step 1. Download and install PDFgear on your device to get started. Fire up PDFgear, and click Open File button to open the PDF you need.
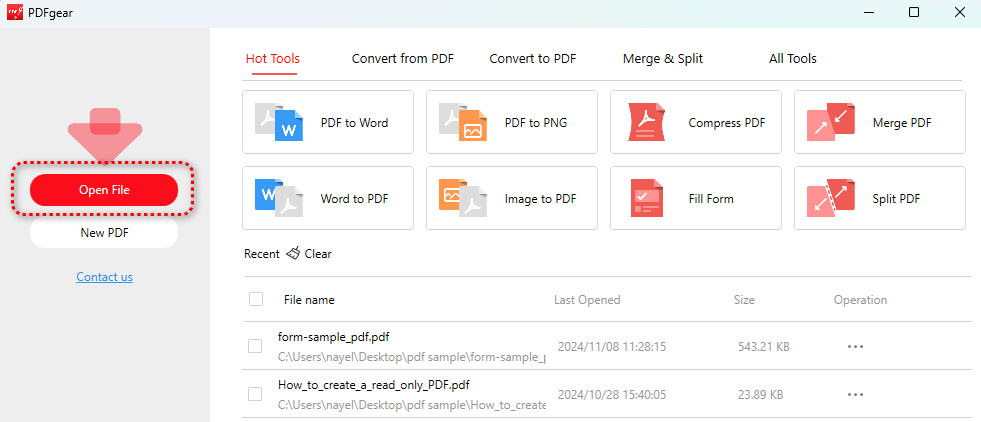
Open File
Step 2. Go to the Comment section and you’ll find a variety of border options including Line, Rectangle, Oval, and Ink.
Use Rectangle and Oval to add a border with the preset shape, or draw your own border with the Line and Ink tool.
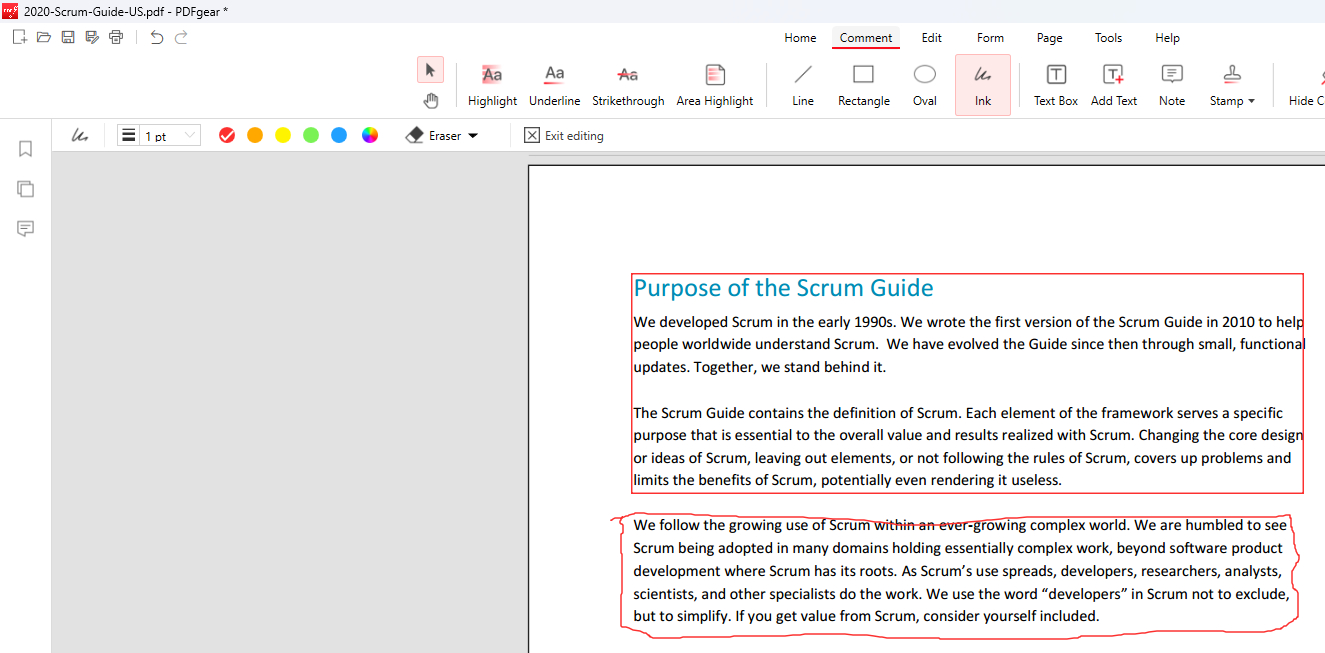
Insert Border
Step 3. On the upper-left side, you’ll find options to change border thickness and color.
Click More Colors to use the color picker to get any color you want. HSL and RGB values are supported.
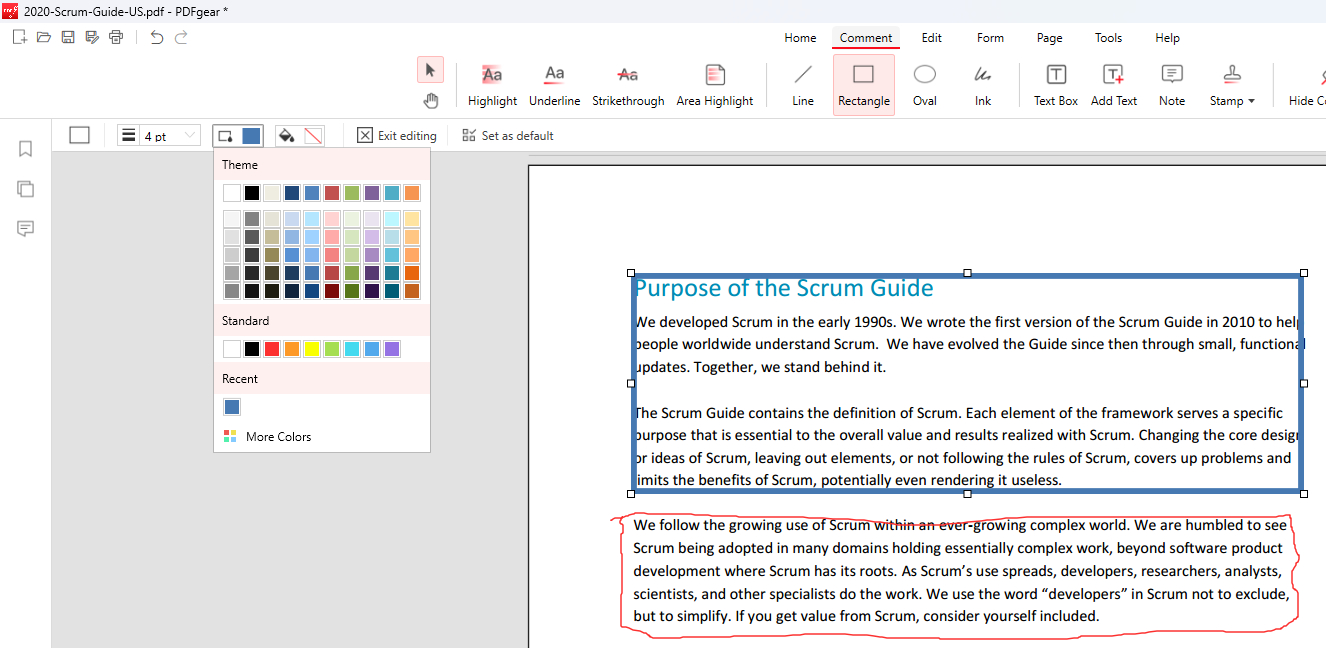
Change Color
Step 4. Whenever ready, click the upper-left Save as button to save the modified PDF.
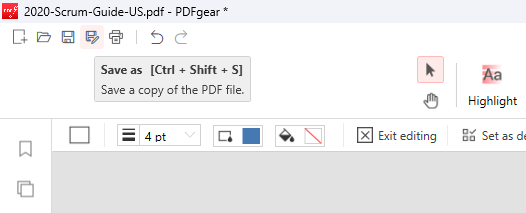
Click Save as
Add Border to PDF on Mobile for Free
If you don’t have a computer at hand, no worries. PDFgear also provides a dedicated mobile app for iOS and Android.
With it, you can apply borders to PDF anytime, anywhere, right from your mobile phone. Now get the PDFgear app to get started!


Step 1. Open the PDFgear app and tap the lower Plus icon to add a PDF file from your device. Then tap on it in the Files list to open it.
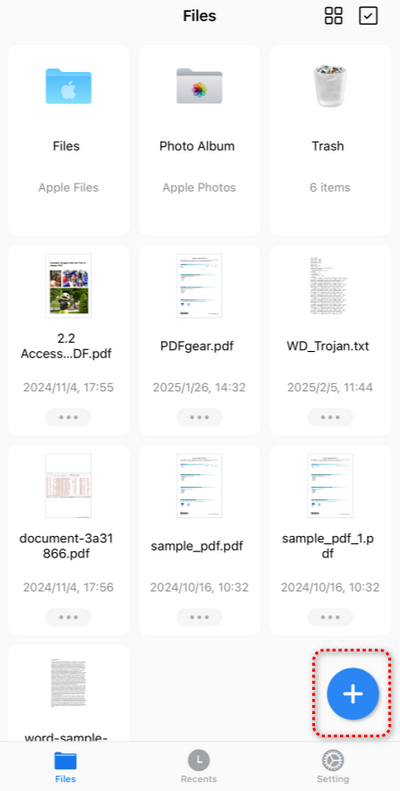
Tap Plus
Step 2. Tap the upper Edit button and you’ll be led to the Annotate mode by default.
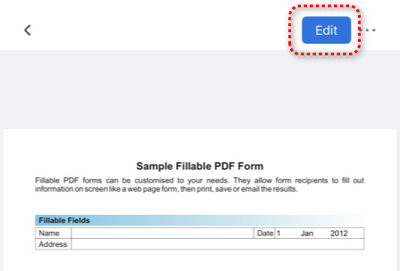
Tap Edit
Step 3. In the Annotate mode, tap on the Shape button below, and tap on the Rectangle shape to access the Shapes window where you can choose your preferred border shape, color, and thickness.
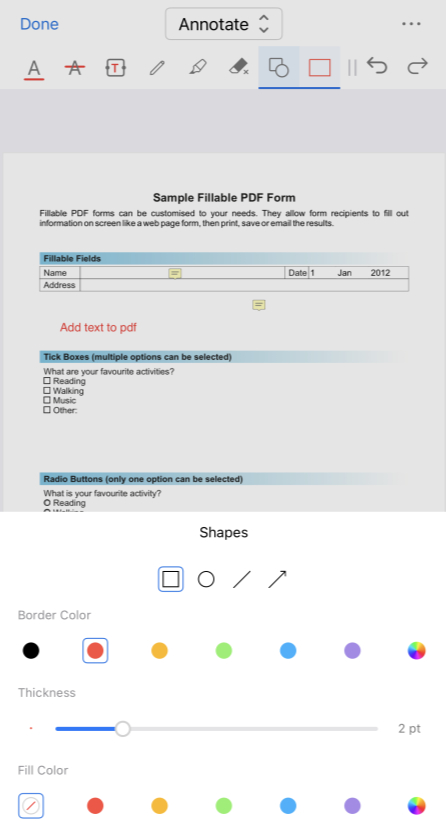
Choose Border
Step 4. Tap, hold, and drag your finger to add the border shape to the PDF.
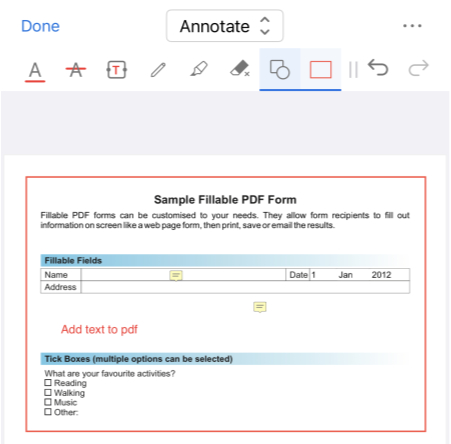
Add Border
Step 5. Lastly, tap on the triple dots button in the upper-right corner to save or share the PDF with borders.

Save the PDF
Add Border in PDF with Adobe Acrobat Reader
The free Adobe Acrobat Reader offers some basic PDF markup features, which include adding border shapes.
So if you’re an Acrobat user, you can easily put border shapes in PDF without the pricey pro subscription. However, it’s worth noting that there’s only a handful of color options for borders in Acrobat.
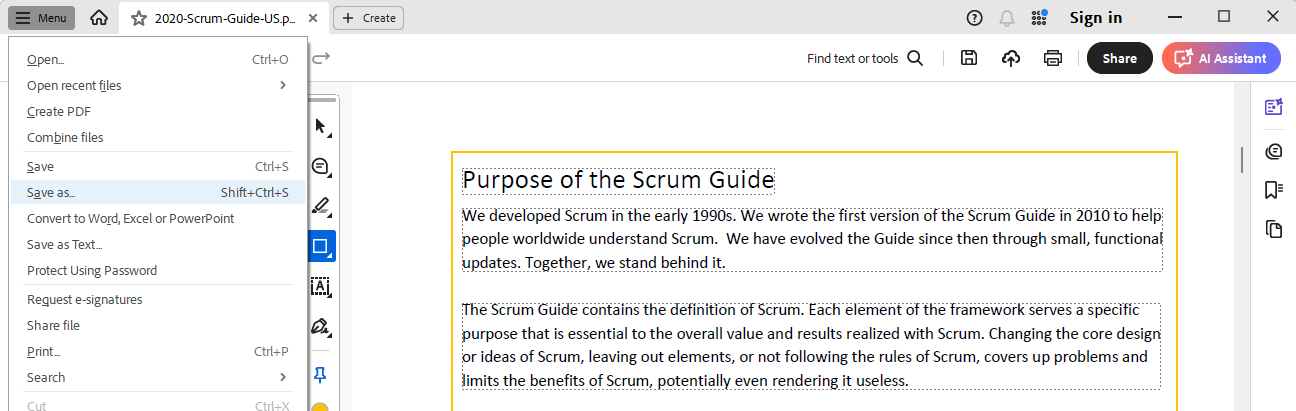
Step 1. Open Adobe Acrobat Reader, go to the upper-left hamburger menu, and click Open to open the PDF.
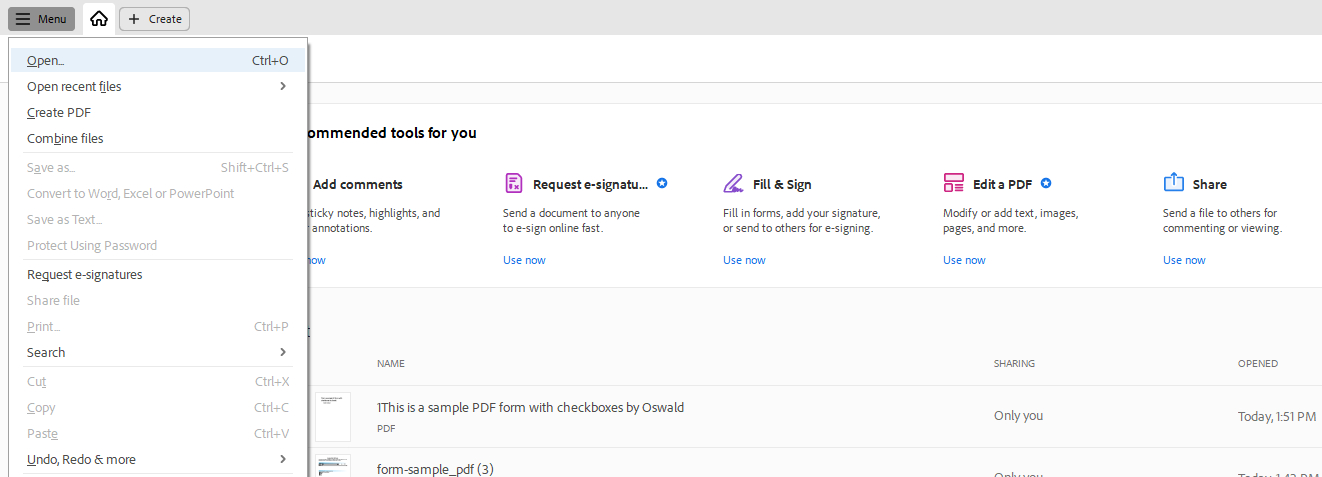
Open PDF
Step 2. On the toolbar to the left side, click on the Draw freehand option and choose the Rectangle tool within.
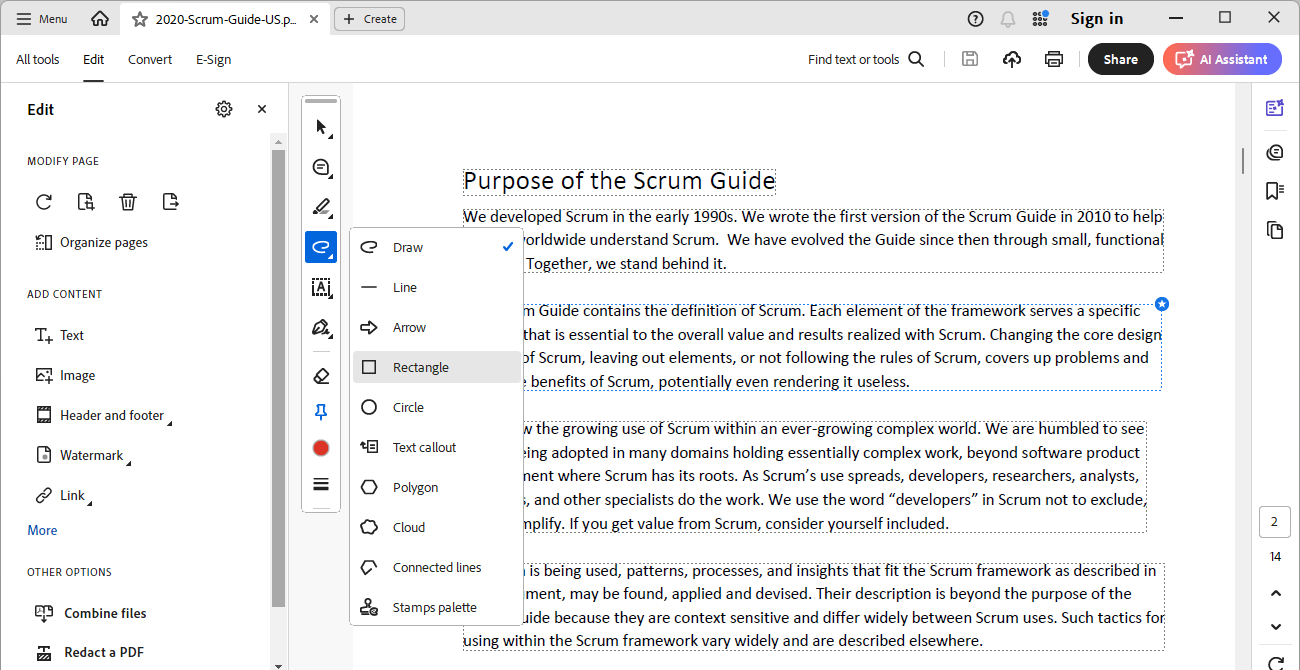
Rectangle Tool
Step 3. Click, hold, and drag your mouse to insert the border shape anywhere you like.
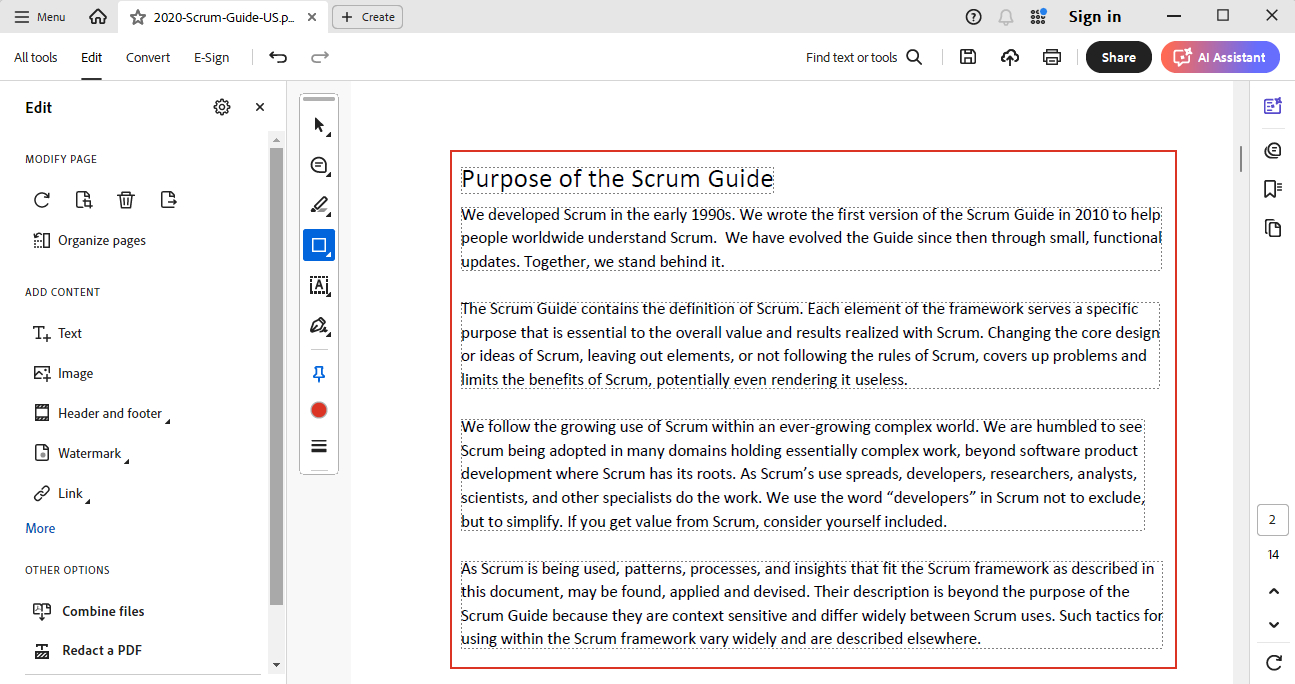
Insert Border
Step 4. Click on the Color/Thickness buttons below to change the color or thickness of the inserted border.
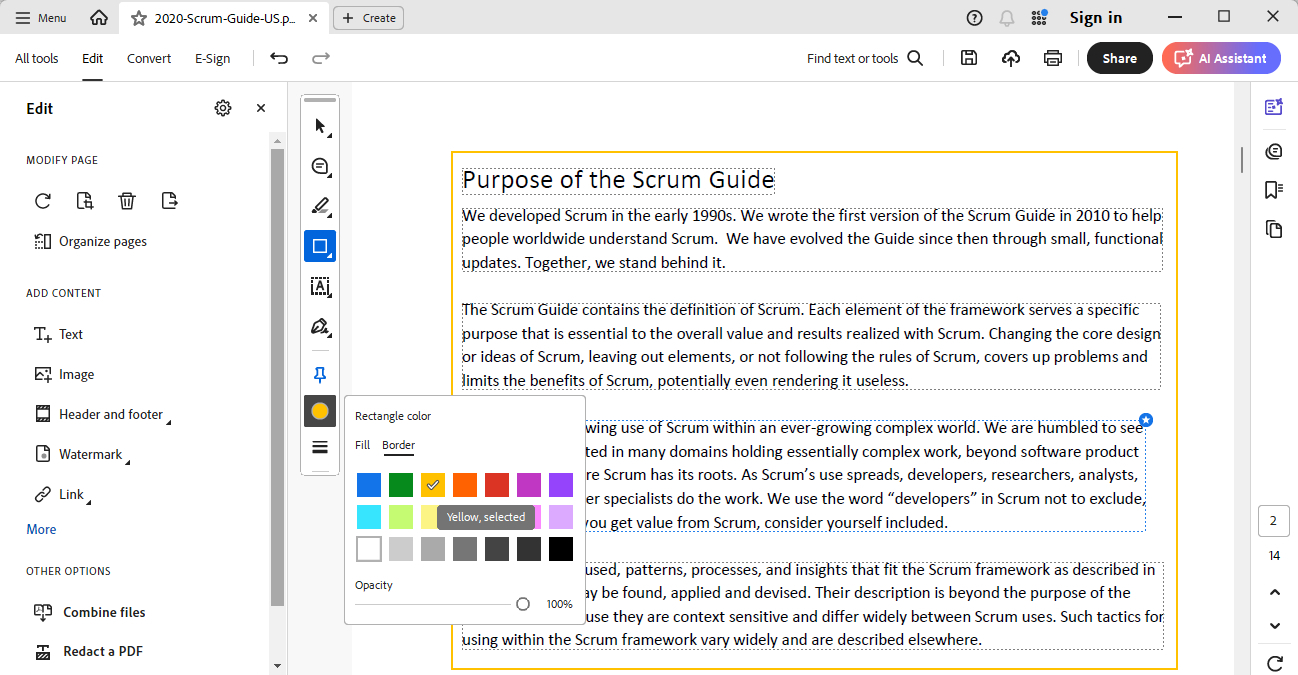
Change Color
Step 5. Lastly, go to Menu > Save as to save the new PDF file.
Save PDF
FAQs
How do I add borders to PDF online?
Open the PDFgear online editor > Upload PDF > Add or Edit annotations > Add shapes > Select a rectangle to add a border at the appropriate location.
How do you add a border on pages on a Mac?
The method of adding borders to PDF using Adobe Acrobat Reader also applies to Mac. Open PDF > Click “Tools” > Select “Comments” > Click “Shape” > Select “Rectangle” > Drag the cursor to add a border at the correct position.
How to resize added borders?
In PDFgear, after adding borders to a PDF, you can click on the added border shape, and drag on its corners to resize it.
Can I remove the border after adding it?
Yes, you can easily remove the border at any time. In PDFgear, right-click on an unwanted border and click Delete Comment to remove the border.