The Comprehensive Guide on How To Double Underline in Google Docs

Summary :
Find out how to make your Google Docs look better with a stylish double underline. This post gives you three ways to double underline text in Google Docs: using the Equation feature, the Drawing tool, or the Borders and shading feature.
How To Double Underline in Google Docs

How To Double Underline in Google Docs
What is the purpose of double underline in documents? Double underline is used to draw attention to specific sections of a document, like a total amount or a significant word.
There are different ways to apply double underline Google Docs, such as using an equation box, a drawing tool, and borders and shading. Let’s explore and learn these simple methods to master the art of double underlining in Google Docs.
Method 1. How To Double Underline in Google Docs With Equation Box
The easiest and quickest way to add double underlines to text in Google Docs is to use equation code. If you are not familiar with this method, continue reading for detailed steps.
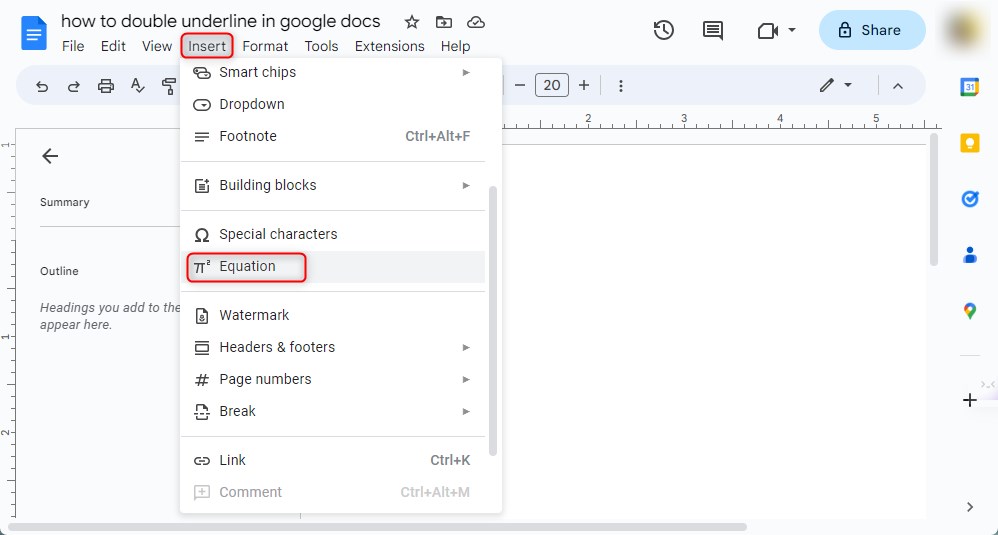
Step 1: Insert an equation box
Open Google Docs and navigate to Insert, then select Equation. This will open the Equation box.
Insert an Equation Box
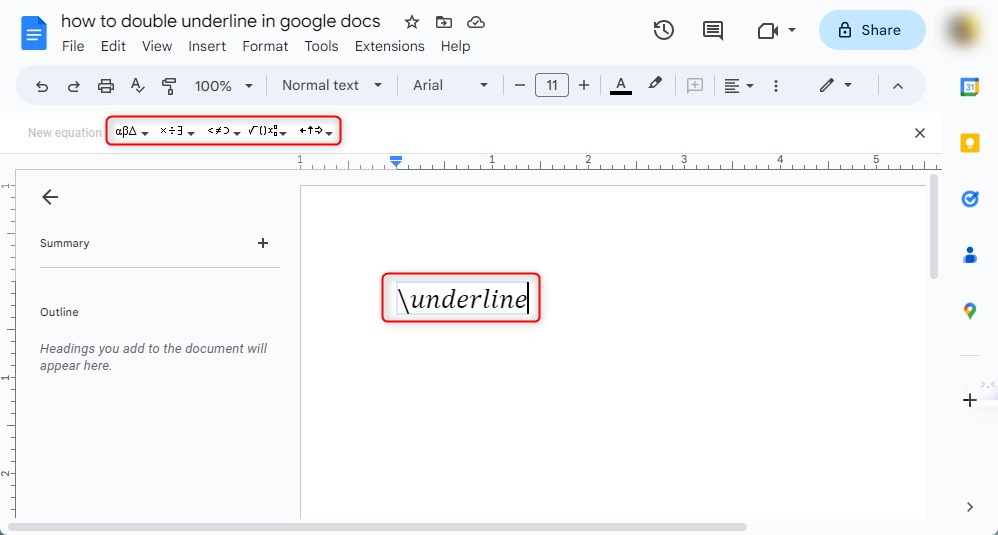
Step 2: Enter \underline in the equation box
Inside the Equation box, enter “\underline” followed by a space. Repeat this step again.
Enter \underline into the Box
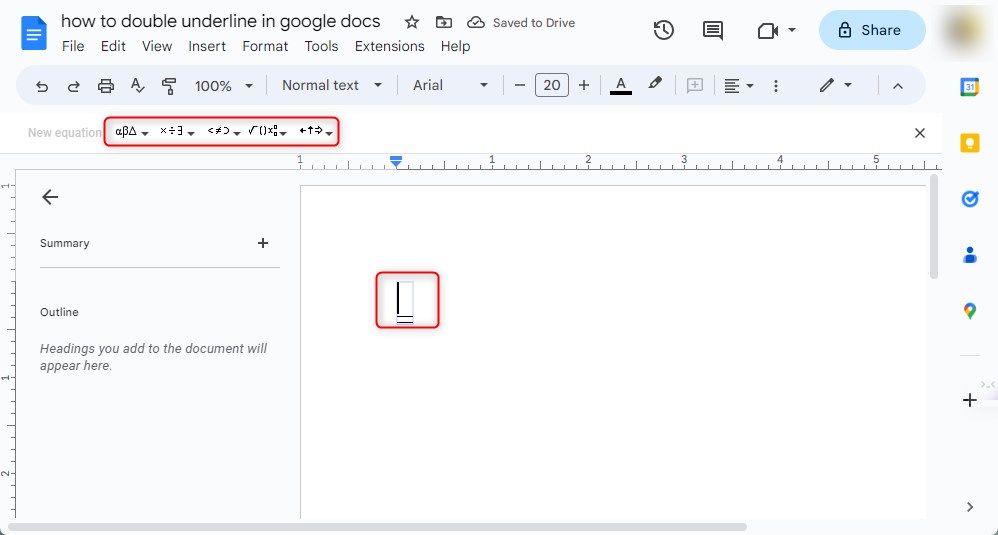
Step 3: Double underline in the equation box
Now, you will see the double underline displayed in the Equation box.
Double Underline in Equation Box
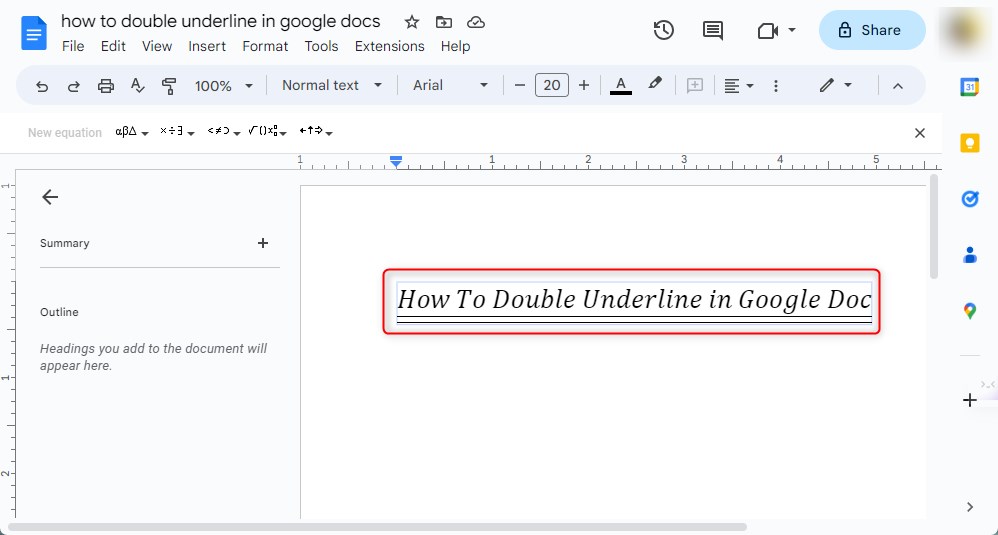
Step 4: Double underline with text in the equation box
Type the text into the equation box, and it will be double-underlined automatically. Google Docs offers an extensive array of fonts, encompassing typewriter fonts, cursive fonts, handwriting fonts, and more, to cater to diverse user preferences and requirements.
Double Underline with Text in Equation Box
Method 2. How To Double Underline in Google Docs With Drawing Tool
The drawing tool in Google Docs allows you to do word art like creating and changing lines, shapes, text, and more to make your documents look artistic. You can access the drawing tool and draw double straight lines under any text in Google Docs.
Step 1: Enter the text you want to double underline. Press Enter to move to the next line.
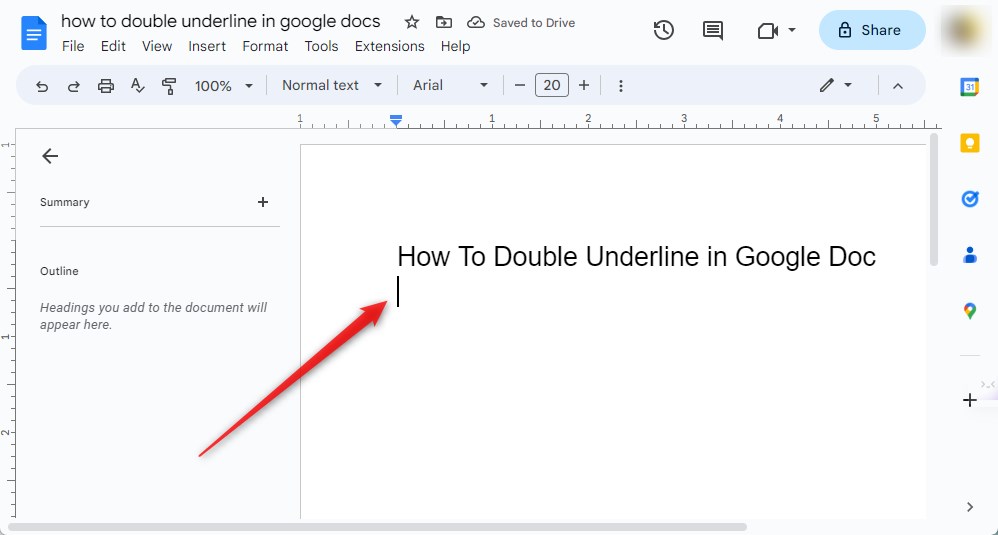
Type the Text You Want to Underline
This step is crucial because it ensures that the double horizontal lines appear below the text instead of beside it.
Step 2: Click “Insert” in the top menu, then choose “Drawing” and click “New”.
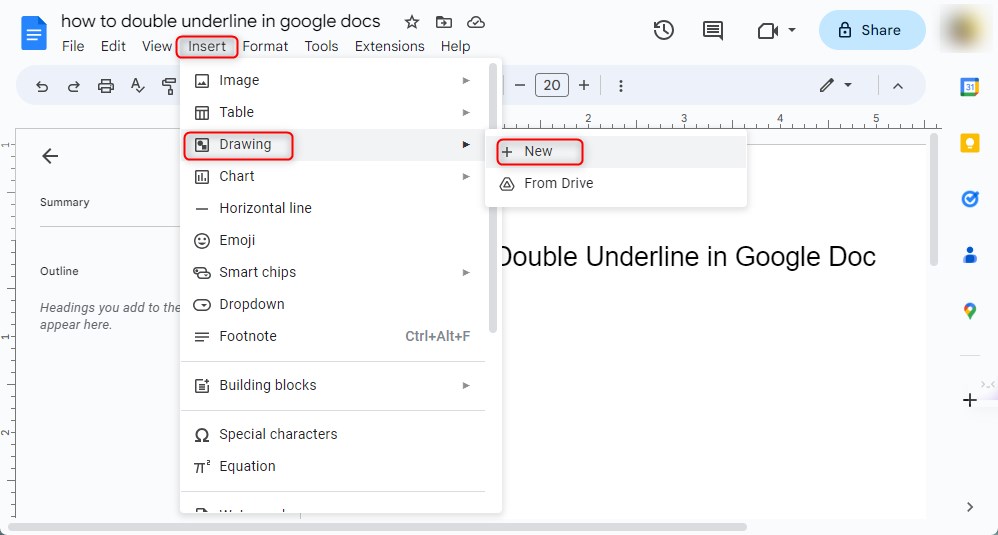
Inserting New Drawing
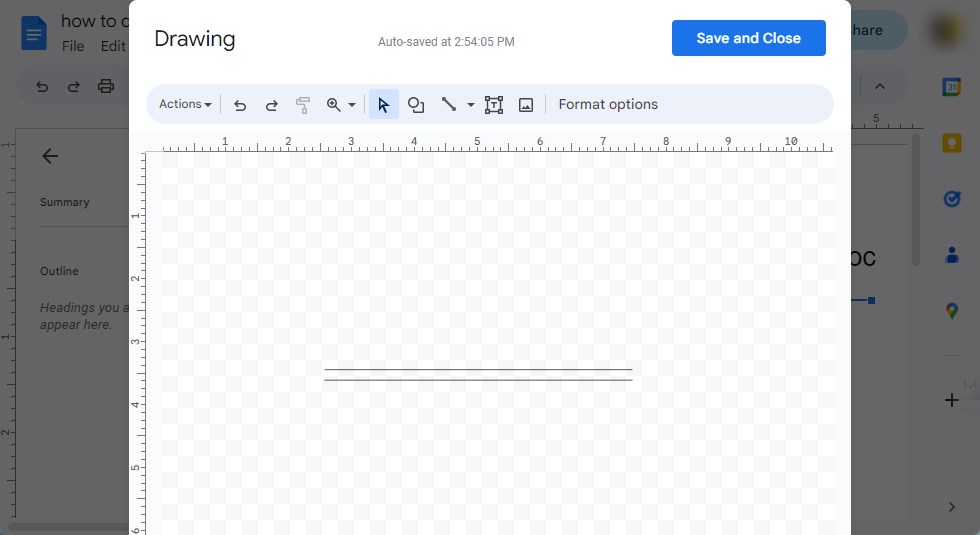
Step 3: In the drawing box, select the “Line” tool.
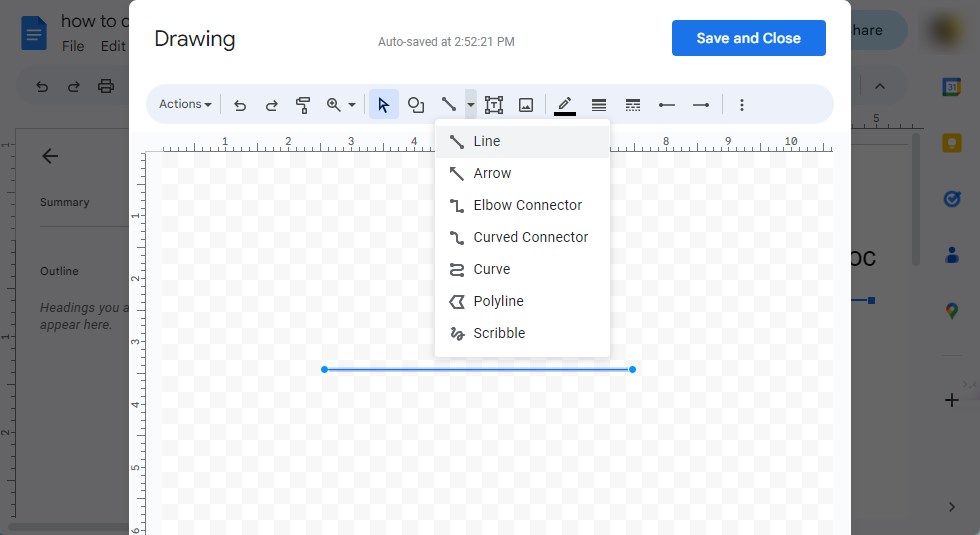
Drawing a Straight Line
Draw a straight line by holding the Shift key on your keyboard. Save and close the drawing.
Step 4: Click on the line, then the three dots, and choose “Size & rotation”. Adjust the line’s height and width.
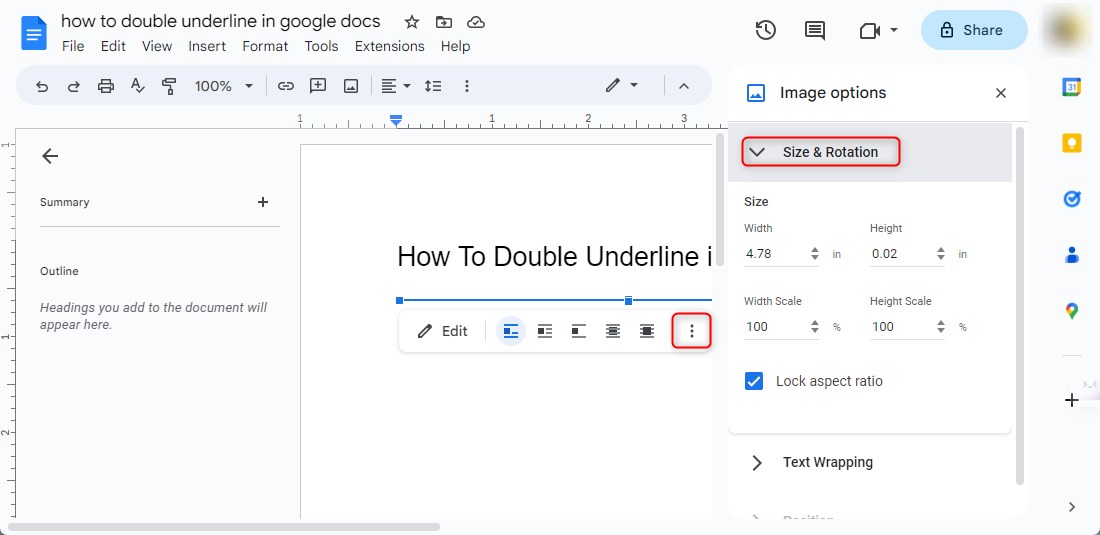
Adjust the Size and Rotation
Step 5: Double-click the line to reopen the drawing tool. Copy and paste the line to create a second one. Place it below the first line for a double underline. Then save and close the drawing tool.
Create the Second Straight Line
Pro tip: Use the arrow keys on the keyboard to adjust the position and length of the two straight lines
Step 6: Select the line and choose “Behind text” in the line options.
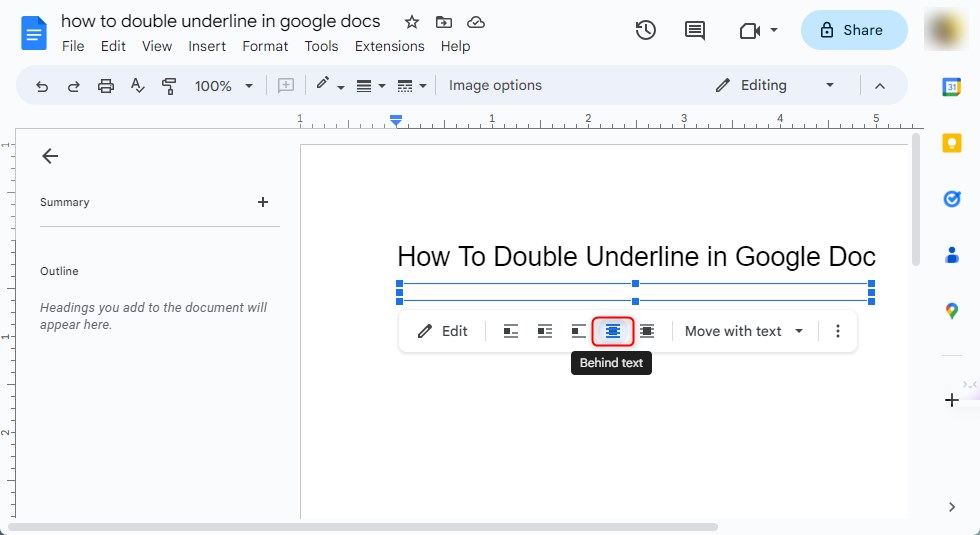
Choose the Behind Text Option
Step 7: Move the lines below the text using the mouse.
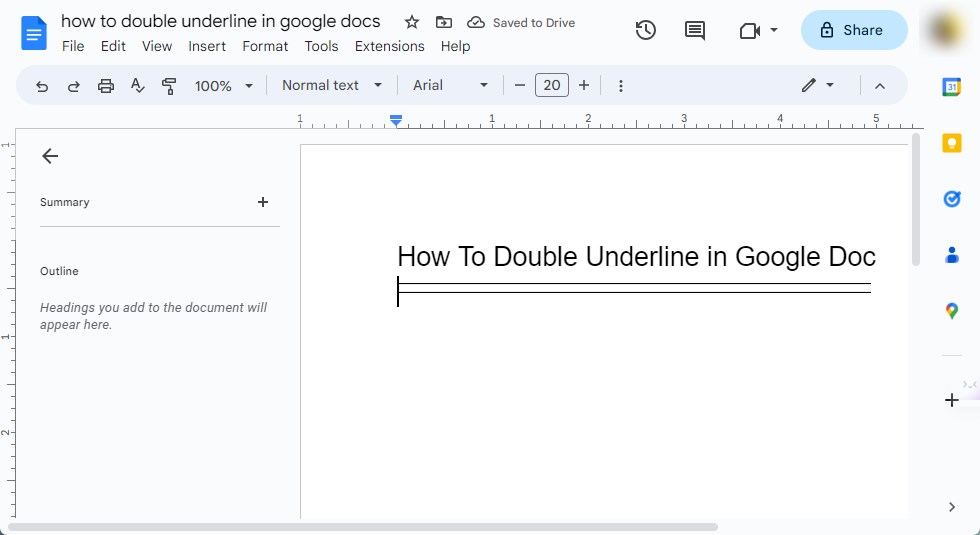
Double Underline the Text with the Drawing Tool
That’s it! Your text now has a double underline.
Method 3. How To Double Underline in Google Docs Using Borders and Shading
Another way to make double underlines in Google Docs is by using the “borders and shading” feature. Follow the step-by-step instructions below to add double underlines to your Google Docs document.
Step 1: Select the text and give it a single underline.
Add a Single Underline on the Text
Step 2: Highlight the text again. Open the Format menu, go to paragraph styles, and click on Border and Shading.
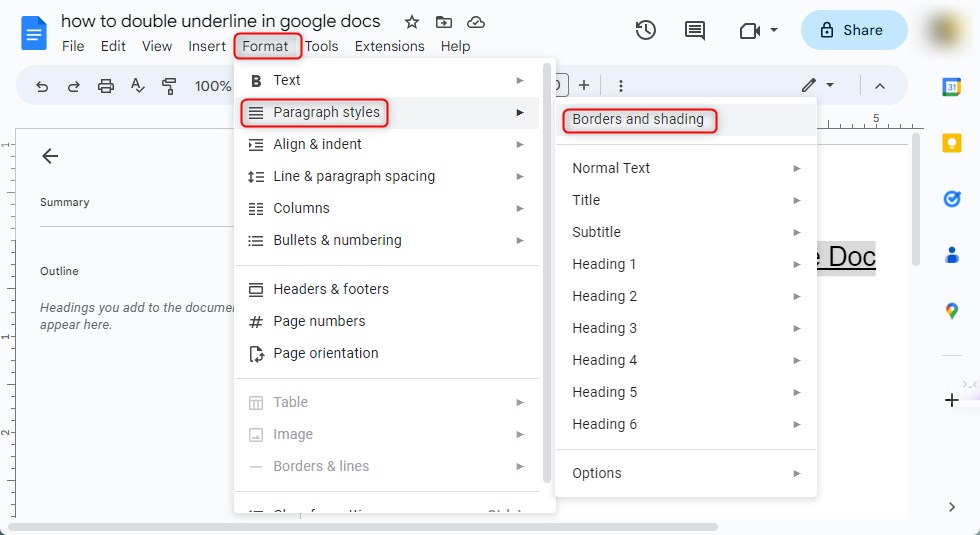
Open the Boder and Shading Option
Step 3: In the borders and shading option, select the bottom position. You can adjust the border style, weight, color, and line dash. Click “Apply” to see your text now double underlined.
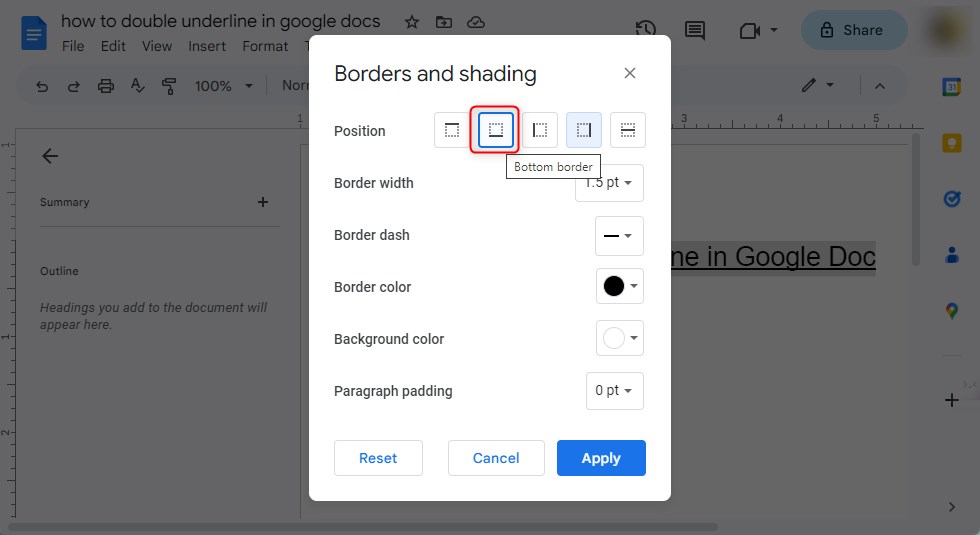
Select the Bottom Border
How To Double Underline in Google Docs: FAQs
How to change underline color in Google Docs?
You can’t change the underline color in Google Docs without changing the text color too. But there are ways to get a similar result. Here are some methods you can try.
Use the Drawing tool: Open a document in Google Docs > Type your text and place the cursor at the end > Insert a new drawing in the Google Docs > Draw a horizontal line using the Line icon > Choose a color for the line > Save and close the drawing
Use a table cell: Click to Insert a 1×1 table in Google Docs> Type your text in the table cell > Choose a color for the bottom border using the Border color icon > Select the “Bottom border” option in the Borders icon
What’s the shortcut to double underline in Google Docs?
Unfortunately, there is no keyboard shortcut for double underlining in Google Docs.
Can I copy and paste double underline from Google Docs to Word?
You can transfer double underlines from Google Docs to Word, but you might need to adjust the formatting and position. Here are the steps:
Step 1. Select the desired text and lines in Google Docs. Copy them by pressing Ctrl+C.
Step 2. Go to Word and place the cursor where you want to paste. Paste by pressing Ctrl+V.
Step 3. Right-click on the lines, and choose Wrap Text > Behind Text. Drag and resize the lines to match the text.
Step 4. Optionally, modify the line’s color, style, and width using the Format tab.
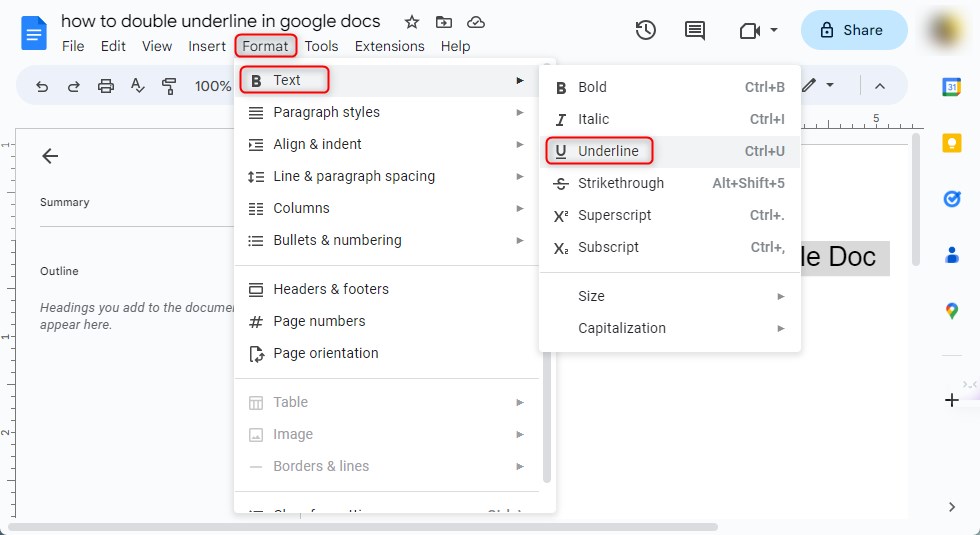
How to double underline in Word?
To double underline in Word, you can do the following steps: Choose the text you want to double underline > On the Home tab of the Ribbon, click the arrow next to the U button > Pick the Double underline option from the menu.
Alternatively, you can use a keyboard shortcut: Select the text you want to double underline> Press Ctrl + Shift + D.
How to double underline in Google Slides?
You can’t double underline directly in Google Slides, but there are ways to achieve a similar effect. Here are some methods you can try:
Method 1: Insert a double underline symbol using the Equation feature, and then type your text inside it.
Method 2: Draw two lines below your text using the Drawing tool, and then group them together.
Method 3: Use a table cell with a double bottom border, and then type your text inside it.
How to double underline in Google Sheets?
To double underline in Google Sheets, you can use the border style option to apply a double bottom border to specific cells. Here’s how:
Step 1. Select the cells you want to double underline.
Step 2. Click the Borders icon in the toolbar and choose the Bottom border option.
Step 3. Click the Border style icon and select the double border option.